The first time I created homemade peanut butter cups, I was stunned by the difference from store-bought versions. That initial bite – where silky chocolate gives way to a creamy, not-too-sweet peanut butter center – was a revelation that sent me back to my restaurant days when we’d create confections that looked simple but delivered complex satisfaction. This classic American treat isn’t just nostalgic comfort food; when made with quality ingredients and proper technique, it becomes an elegant, gift-worthy indulgence that proves the magic of restraint in cooking.
The Story
While commercially made peanut butter cups have been around since H.B. Reese created them in 1928, homemade versions offer something special: control over sweetness, chocolate quality, and texture. During my culinary travels, I discovered many professional chocolatiers make their own interpretations, often using the traditional three-layer method but elevating it with artisanal ingredients. What fascinates me about this recipe is how four simple ingredients transform into something that tastes so complex – much like how a perfect soufflé achieves its magic from basic components handled with care.
Ingredients Spotlight
For the chocolate shell:
• 1 cup (175g) high-quality milk chocolate chips or chopped chocolate bars
• Optional: 1 teaspoon (5ml) coconut oil for shine and snap
For the peanut butter filling:
• ½ cup (125g) creamy peanut butter (unsweetened natural works beautifully)
• ¼ cup (30g) confectioners’ sugar
• 2 tablespoons (28g) unsalted butter, softened
• ¼ teaspoon sea salt (omit if using salted peanut butter)
The quality of chocolate makes all the difference here – I recommend something with 35-45% cocoa for milk chocolate. For the peanut butter, freshly ground from a quality market offers unparalleled flavor, but a good commercial brand without hydrogenated oils works wonderfully too.
Step-by-Step Guide
1. Line a 12-cup mini muffin tin with paper liners.
2. Melt 2/3 of the chocolate gently in a heatproof bowl over barely simmering water (or microwave in 20-second intervals), stirring frequently until smooth. If using, add coconut oil now.
3. Spoon 1 teaspoon of melted chocolate into each cup, using the back of the spoon to coat the sides about 1/3 of the way up. Place in freezer for 5 minutes to set.
4. Meanwhile, mix peanut butter, confectioners’ sugar, butter, and salt (if using) in a bowl until completely smooth but still thick.
5. Remove muffin tin from freezer and place 1 generous teaspoon of peanut filling in the center of each chocolate base, gently pressing down to flatten slightly while leaving a border around the edges.
6. Melt remaining chocolate and spoon 1 teaspoon over each cup to cover the filling completely. Gently tap the tin to settle the chocolate into an even layer.
7. Refrigerate for at least 30 minutes until completely set.
Expert Techniques
The true secret to professional-quality peanut butter cups lies in temperature control. Chocolate tempers best between 88-90°F (31-32°C) for milk chocolate, creating that satisfying snap when you bite into it. If you don’t have a thermometer, the “seed method” works well: melt 2/3 of your chocolate, then stir in the remaining 1/3 chopped chocolate off the heat until smooth.
Chef’s Note: When making the peanut butter filling, temperature matters tremendously. Room temperature ingredients mix more smoothly, and the final texture should be pliable but not runny – similar to the consistency of modeling clay. If it’s too soft, refrigerate for 10 minutes before portioning.
For a cloud-like texture in your filling, try whipping the mixture with a hand mixer for 2 minutes. This incorporates tiny air bubbles that create a lighter mouthfeel, similar to the technique used in many French confections.
Presentation & Pairing Ideas
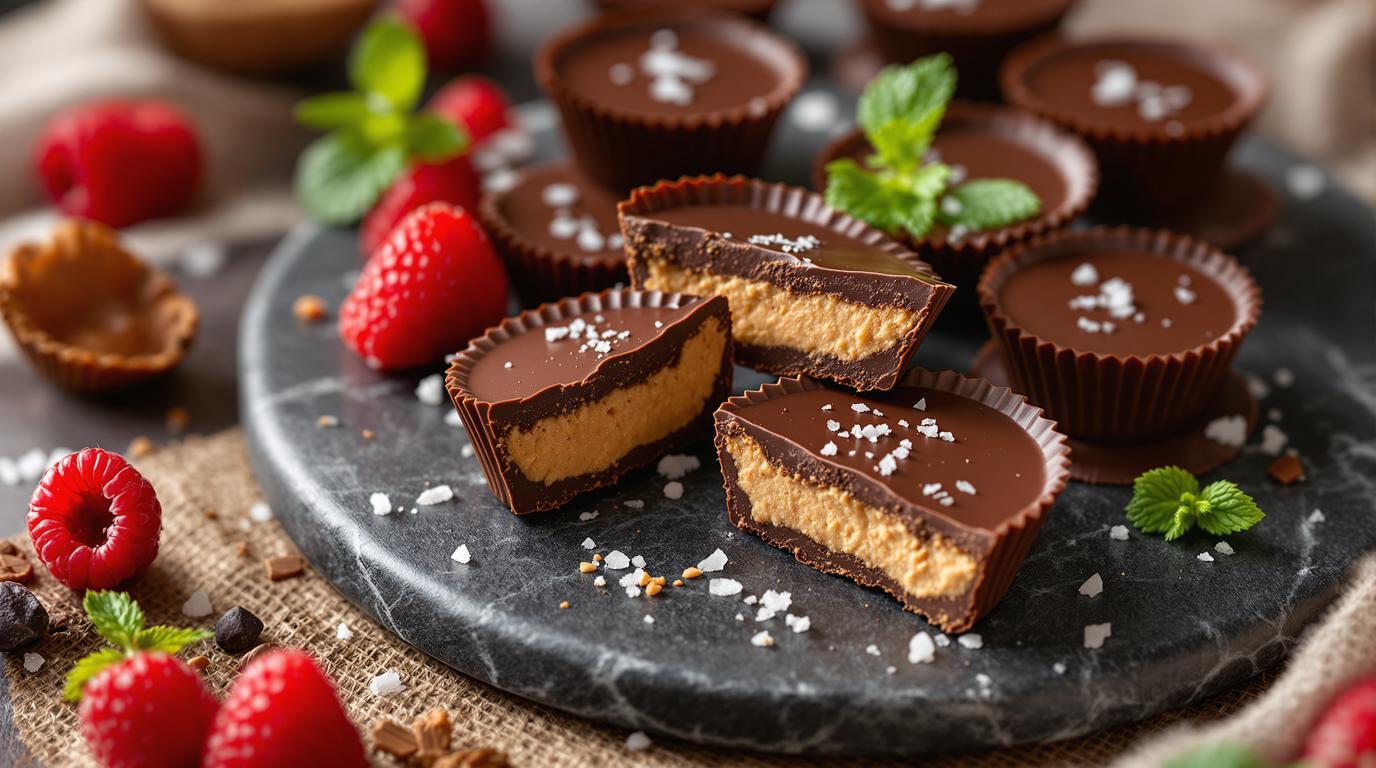
These handcrafted treats deserve beautiful presentation. Arrange on a slate board with fresh berries and edible flowers for a dessert platter. For an elevated experience, pair with:
- A glass of tawny port or Banyuls dessert wine
- Freshly brewed espresso
- Vanilla bean ice cream for a decadent sundae experience
For a seasonal twist in summer, fold finely chopped dried cherries into the peanut butter filling. In fall, a pinch of cinnamon and tiny sprinkle of flaky sea salt on top channels those nostalgic layered desserts with a sophisticated edge.
Store these treasures in an airtight container in the refrigerator for up to two weeks, or freeze for up to three months. Let them come to room temperature for about 10 minutes before serving for the ideal texture – much like how perfect roast potatoes need that final rest to achieve greatness. Your homemade peanut butter cups might just become your signature gift during the holidays – I’ve seen guests’ eyes light up when they discover these aren’t store-bought but made with care in a home kitchen. That moment makes every careful step worthwhile. 🍫