Summer’s coming to a close, but that doesn’t mean your nails have to lose their shine. With fall on the horizon, many of us are looking to maintain that salon-fresh look without the salon price tag. Professional manicures can be expensive, but achieving that same quality at home is entirely possible with the right approach and tools. Ready to master the art of the at-home manicure? Let’s dive in!
Why late summer is the perfect time for nail renewal
As August winds down, our nails often need recovery from summer’s harsh elements. Sun exposure, chlorine, and saltwater can leave them brittle and damaged. “The transition to fall is ideal for nail restoration,” says celebrity nail technician Emma Roberts. “It’s about preparing your nails for the cooler months ahead while healing summer damage.”
Essential tools for your salon-quality home setup
Before beginning, gather these professional-grade tools:
- Quality nail file and buffer
- Cuticle pusher and nippers
- Base coat, polish, and top coat
- Nail dehydrator or prep solution
“Investing in quality tools is like a chef investing in good knives,” explains Dr. Dana Stern, dermatologist specializing in nail health. “They make all the difference between amateur and professional results.” Consider exploring essential nail tools that prevent breakage for long-lasting results.
The perfect prep: your manicure foundation
Begin with thoroughly clean nails. Remove old polish completely and soak fingertips in warm, soapy water for 3-5 minutes. This softens cuticles, making them easier to manage. After soaking, gently push back cuticles—never cut them, as this can lead to infections and uneven growth.
Next, apply a quality base coat that reduces brittleness. This crucial step creates the smooth canvas needed for flawless polish application.
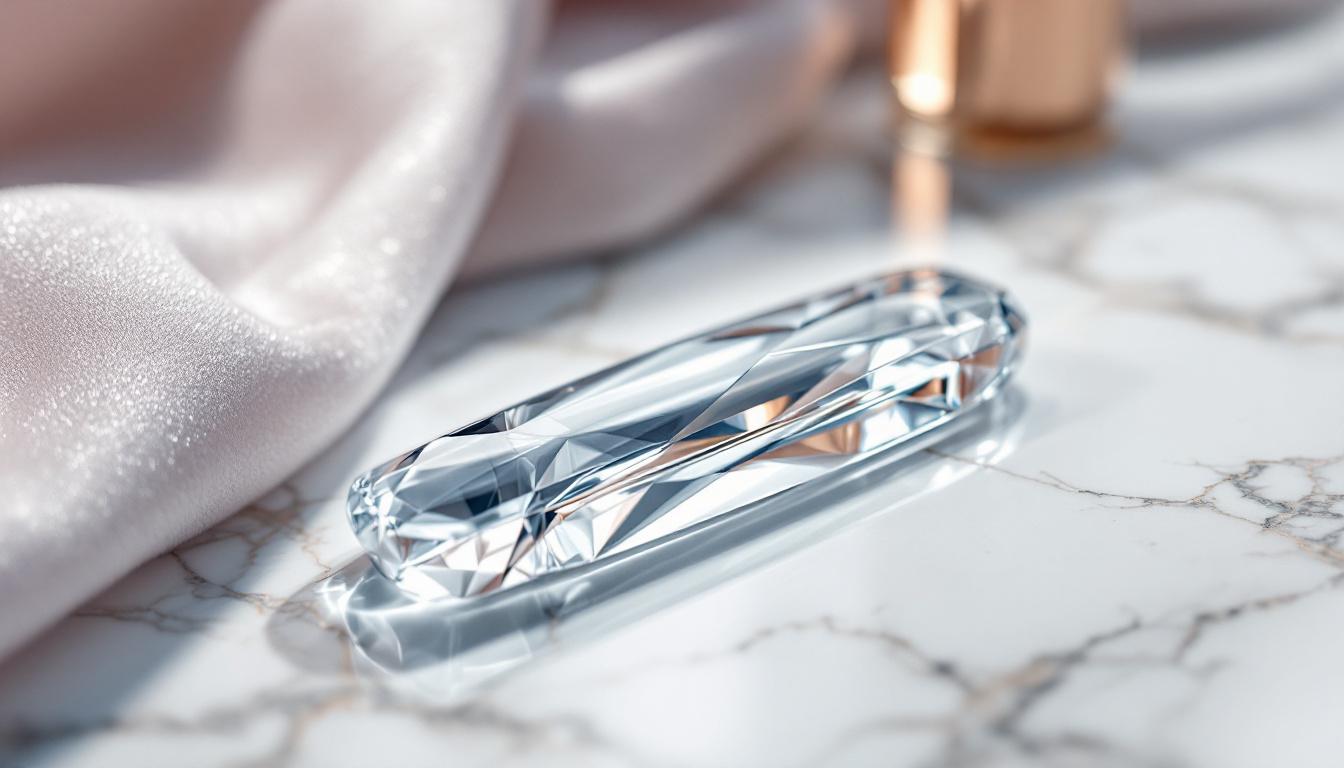
The buffing secret professionals don’t share
Nail buffing is often overlooked but creates that salon-level shine. Try this 5-minute buffing technique that keeps nails looking flawless for weeks. Use gentle, circular motions and remember: buffing is like exfoliation for your nails—effective but should be done sparingly.
The dehydration technique that changes everything
One salon secret now available for home use is nail dehydration. Before applying polish, wipe each nail with a dehydrator or alcohol-based prep solution. This removes natural oils that can prevent polish from adhering properly, dramatically extending your manicure’s lifespan.
Perfect polish application: thin layers win
Apply polish in thin, even coats rather than one thick layer. Allow each coat to dry completely before applying the next—about 2 minutes per layer. This patience prevents bubbling and smudging, giving you that glass-like professional finish.
“The difference between a salon manicure and home attempt often comes down to patience. Take your time with each step, especially during polish application,” advises nail artist Jessica Chen.
Cuticle care for lasting results
Post-manicure, apply cuticle oil treatments that repair summer brittleness. Regular application keeps cuticles hydrated and prevents the dry, ragged appearance that can make even perfectly polished nails look amateur.
The three-minute texture technique
For an age-defying finish, consider this three-minute nail texturing method that makes hands appear younger. This technique creates dimension and light reflection that’s especially flattering as we transition to fall’s softer lighting.
Your manicure’s final touch
Seal your masterpiece with a high-quality top coat. Professional-grade gel-effect top coats provide that wet-look shine without UV lamps. Apply one thin coat, then a second coat 48 hours later to extend wear time dramatically.
What’s the most satisfying aspect of mastering the at-home manicure? Perhaps it’s the blend of artistic expression and self-care that leaves you with beautiful nails and a renewed sense of accomplishment. Your salon-quality results await—happy polishing!