The first time I encountered Japanese cheesecake was during my apprenticeship in Tokyo. What struck me wasn’t just its cloud-like appearance, but the paradoxical way it seemed both substantial and ethereal at once. I’d spent years mastering dense New York-style cheesecakes, but this—this was something entirely different. The way it quivered slightly when the plate touched the table, like it was breathing, fascinated me. I’ve spent years refining this technique, and I’m thrilled to share the secrets to achieving that perfect jiggly texture that makes this dessert so captivating.
The Story
Japanese cheesecake emerged in the 1960s as chefs sought to create a lighter alternative to Western cheesecakes. What makes this dessert special is its souffle-like texture achieved through an ingenious marriage of Western ingredients and Eastern techniques. Unlike its dense American cousin, Japanese cheesecake relies on the delicate incorporation of air through whipped egg whites—creating that signature wobble that’s become Instagram-famous. This is comfort food that somehow feels sophisticated, the perfect balance between richness and lightness.
Ingredients Spotlight
The magic of Japanese cheesecake lies in quality ingredients and precise ratios:
- Cream cheese (225g/8oz): The foundation of our cheesecake, providing richness without heaviness. Always use full-fat for proper structure.
- Eggs (6 large, separated): The true workhorses here—yolks for richness, whites for lift.
- Cake flour (105g/¾ cup): Lower protein content than all-purpose flour creates that tender crumb. If unavailable, substitute all-purpose flour with 2 tablespoons replaced by cornstarch.
- Milk (105ml/7 tbsp): Adds moisture and creates a silkier texture.
- Butter (60g/4 tbsp): Unsalted, please—we want control over the saltiness.
- Sugar (170g/¾ cup, divided): Divided between the base and meringue for structural purposes.
- Cornstarch (30g/2.5 tbsp): Our insurance policy against collapse.
- Cream of tartar (¼ tsp): A tiny amount stabilizes those precious egg whites.
- Lemon juice (1.5 tbsp) and vanilla extract (1 tsp): Brightness and depth.
- Salt (¼ tsp): The flavor amplifier that makes everything sing.
Step-by-Step Guide
1. Prepare your battlefield: Preheat oven to 200°C/392°F. Line an 8-inch springform pan with parchment paper on the bottom and sides. Wrap the outside with aluminum foil to prevent water seepage.
2. Create your base: Gently melt cream cheese, butter, and milk in a double boiler (or microwave in 30-second bursts). The mixture should be smooth but not hot—aim for slightly warm. Whisk in egg yolks, half the sugar (85g/6 tbsp), salt, lemon juice, and vanilla until silky.
3. Incorporate dry ingredients: Sift cake flour and cornstarch directly into the cream cheese mixture. Fold gently with a spatula until just combined—overmixing is the enemy here.
4. Build your meringue: In a clean, dry bowl, whip egg whites with cream of tartar until foamy. Gradually add remaining sugar (85g/6 tbsp) while beating until soft peaks form—when you lift the beater, the peaks should bend over slightly, not stand rigid.
5. The critical fold: Add one-third of meringue to the cream cheese mixture and fold gently to lighten the base. Add remaining meringue in two batches, using a large spatula in a slicing-down, sweeping-bottom, and lifting-up motion. Think of it as preserving those precious air bubbles.
6. Prepare for baking: Pour batter into prepared pan and smooth the top. Tap pan gently to remove large air pockets. Place in a larger baking dish and add hot water until it reaches about 1 inch up the sides of the cheesecake pan.
7. The temperature dance: Bake at 200°C/392°F for 18 minutes, then reduce to 140°C/284°F for another 30 minutes. When done, turn off the oven, crack the door open, and let the cake cool gradually for 30 minutes inside.
8. The waiting game: Remove from oven, run a thin knife around the edges, and let cool completely. Refrigerate for at least 4 hours (preferably overnight) before serving.
Expert Techniques
The water bath isn’t just tradition—it’s science. The steam creates a humid environment that prevents the surface from drying out before the interior sets. Think of it as a gentle embrace that ensures even baking.
Chef’s Note: The most common mistake I see is rushing the cooling process. The gradual temperature change is crucial—it’s what prevents that dreaded center collapse. When I’m making this for restaurant service, I’ll often bake it the night before and let it chill overnight for the perfect texture.
When folding your meringue, imagine you’re handling the most delicate silk fabric. Each fold should be decisive yet gentle. I prefer a large silicone spatula with a flexible edge that can reach the bottom of the bowl without tearing through the mixture. If you notice streaks of white, you’re on the right track—a few small streaks are better than an over-mixed batter.
Presentation & Pairing Ideas
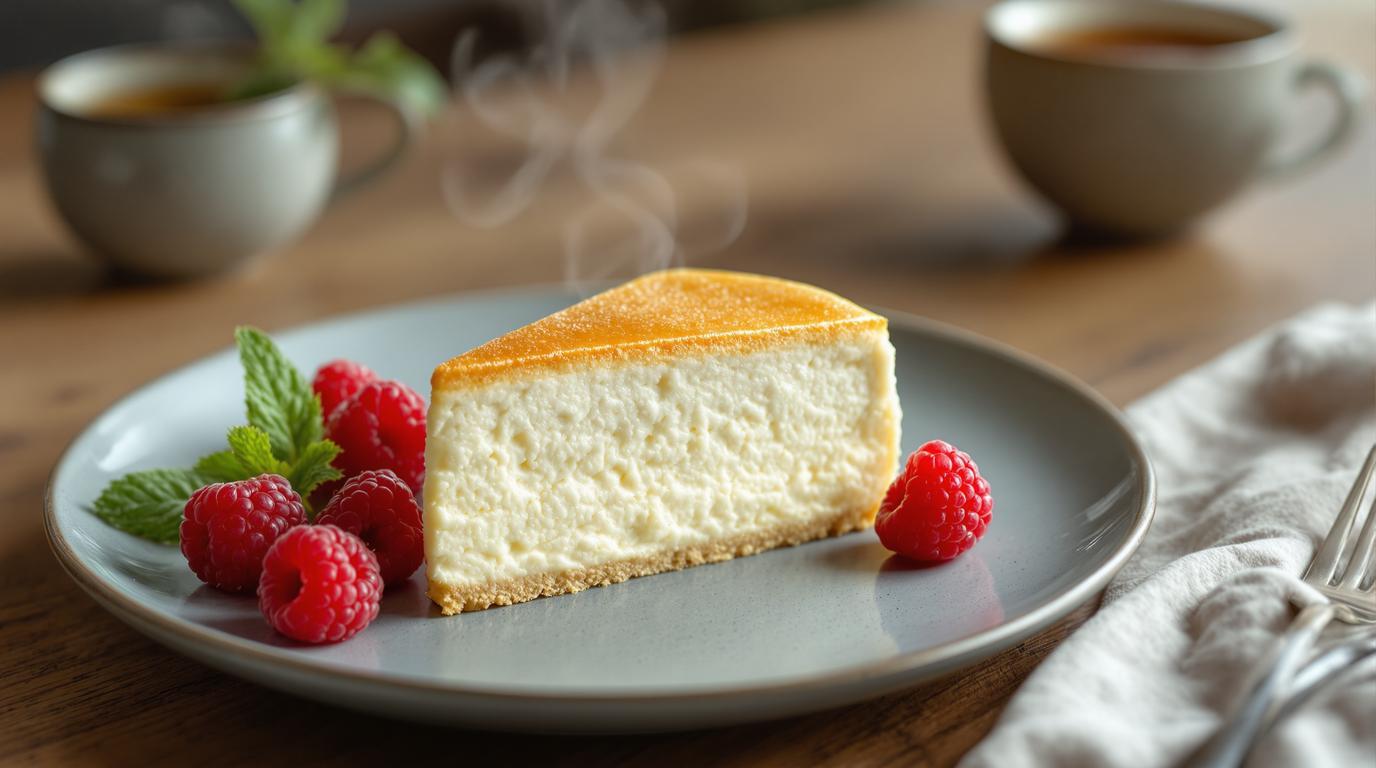
For a traditional presentation, dust the top with powdered sugar just before serving. I like to add a crown of fresh berries—the acidity cuts through the sweetness beautifully. For a more contemporary twist, try a light drizzle of pistachio syrup or a side of tres leches-inspired cream.
This cheesecake pairs wonderfully with a glass of Moscato d’Asti or, for something unexpected, a cup of genmaicha (Japanese roasted rice tea). The toasty notes complement the vanilla perfectly. If you’re serving this as part of a larger spread, consider balancing its lightness with something substantial like crispy potatoes.
For a seasonal twist, try folding in 2 teaspoons of matcha powder in summer, or a hint of cinnamon and nutmeg in fall. This base recipe is your canvas—much like French pastry techniques, once you master the foundation, you can build endless variations.
Remember, the perfect Japanese cheesecake should jiggle slightly when moved but hold its shape when sliced. It’s the culinary equivalent of catching lightning in a bottle—technical yet magical. Don’t be discouraged if your first attempt isn’t perfect; each one teaches you something new about the delicate dance between ingredients. In my kitchen, we say the best seasoning is confidence—so approach this recipe with joy, and that ethereal texture will soon be yours to master. 🍰✨