I still remember the first time I made candy apples in culinary school. The transformation was almost magical – watching ordinary apples become glossy red jewels with a satisfying crack when bitten into. There’s something wonderfully nostalgic about these fairground favorites that bridges cultures and generations. What many don’t realize is that the perfect candy apple balances precise sugar work with simple ingredients, creating that signature glass-like coating that’s both beautiful and delicious. Let’s create this classic confection together!
The Story Behind Candy Apples
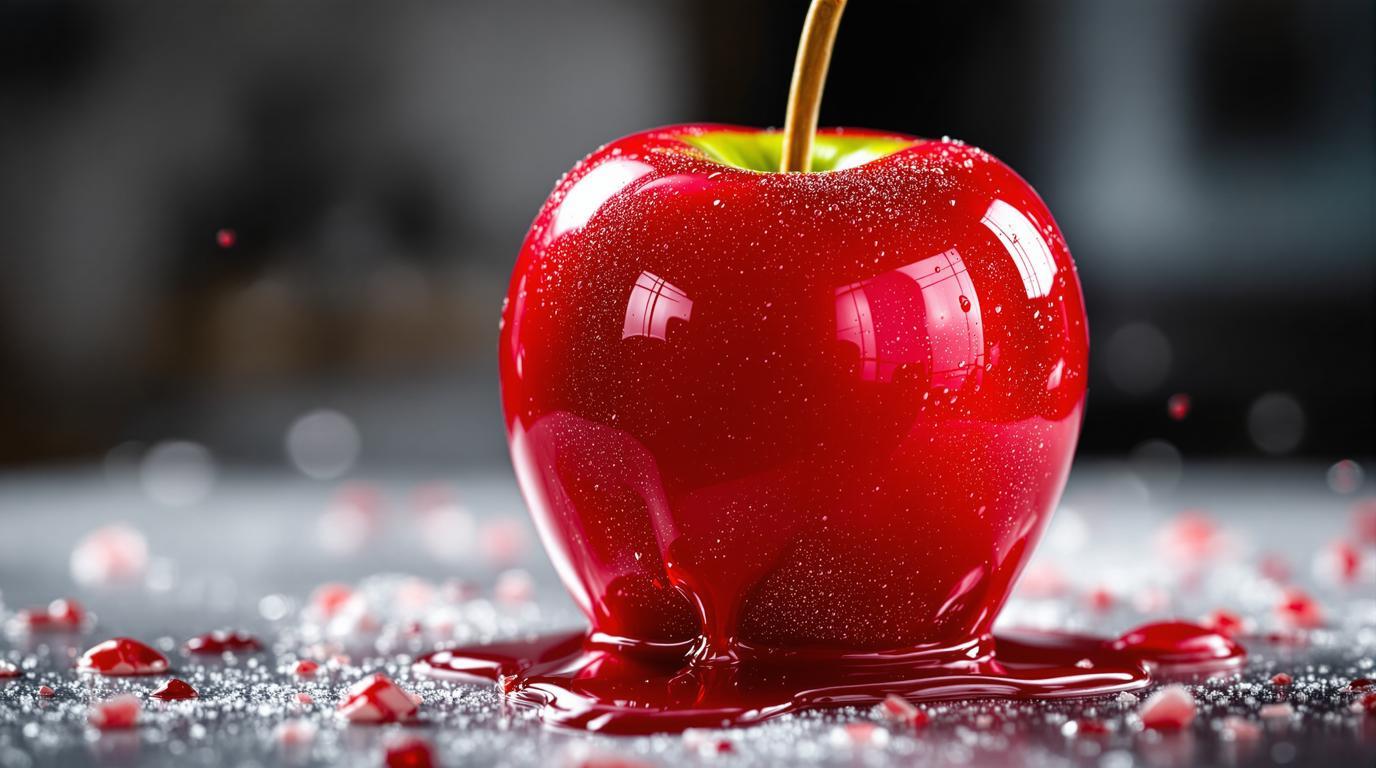
Known as “Pommes d’Amour” (love apples) in France, these glistening treats have been delighting children and adults at fairs and festivals for generations. While working in Paris, I discovered that the traditional recipe relies on achieving the perfect candy crack – a technique that takes some practice but delivers exceptional results. The vibrant red coating isn’t just for show; it signals to everyone that something special awaits beneath that sweet, shattering shell.
Ingredients Spotlight
- 6 small to medium apples (Granny Smith or Gala work perfectly)
- 500g (2½ cups) granulated sugar
- 6 tablespoons water
- 4 teaspoons lemon juice (prevents crystallization)
- 150g (½ cup) glucose syrup (or light corn syrup)
- Red food coloring (preferably gel for vibrant color)
- 6 candy apple sticks or wooden skewers
Step-by-Step Guide
- Prepare the apples: Wash and thoroughly dry your apples – this is crucial as any moisture will prevent the candy from adhering properly. Remove stems and insert sticks firmly into the center of each apple through the stem end.
- Set up your workspace: Line a baking sheet with parchment paper and lightly grease it. Have this ready before starting the candy coating, as timing is everything.
- Make the candy coating: In a heavy-bottomed saucepan, combine sugar, water, lemon juice, and glucose syrup. Heat over medium heat without stirring until the sugar dissolves. Once dissolved, increase to medium-high heat.
- Monitor temperature: Clip a candy thermometer to the side of the pan and cook until the mixture reaches exactly 302°F (150°C) – the “hard crack” stage. This precision is non-negotiable for that perfect shell.
- Add color: Remove from heat and carefully add the red food coloring, swirling gently to incorporate without introducing air bubbles.
- Dip the apples: Working quickly, tilt the pan slightly and dip each apple, rotating to coat completely. Let excess candy drip off for a few seconds.
- Set and cool: Place dipped apples on the prepared baking sheet and allow to cool completely at room temperature until the candy shell hardens (about 30-45 minutes).
Expert Techniques
The key to professional-quality candy apples lies in understanding sugar crystallization. The addition of glucose syrup and lemon juice serves a crucial purpose – they prevent the sugar from re-crystallizing, giving you that perfect glass-like finish. If your caramel starts to thicken while dipping, place it over low heat for a few seconds to maintain workability.
Chef’s Note: Don’t rush the cooling process by refrigerating your candy apples. The drastic temperature change can cause the hard candy coating to crack or become sticky. Room temperature cooling creates the perfect shattering shell that defines a great candy apple.
Presentation & Pairing Ideas
For a modern twist on this classic, try creating a candy apple bar where guests can choose their own toppings to press into the still-tacky candy coating – crushed nuts, cookie crumbs, or even edible gold dust create stunning variations. Serve these as striking centerpieces at autumn gatherings or wrap individually in cellophane with a ribbon for charming handmade gifts.
The refreshing tartness of Granny Smith apples pairs wonderfully with the sweet candy shell, but if you’re feeling adventurous, try making a batch with unexpected flavors – a few drops of cinnamon oil or rose water added to the candy mixture creates an intriguing flavor profile that elevates this treat from fairground favorite to sophisticated dessert. For a complete fairground-inspired dessert spread, serve alongside my Speculoos Cheesecake for a nostalgic yet refined experience.
Remember, candy making is as much about confidence as technique. If your first batch isn’t perfect, know that even professional pastry chefs occasionally need multiple attempts. The joy is in the process – and of course, in that first satisfying crack when you bite into your handcrafted creation! 🍎✨