I still remember the first time I tasted brown sugar apple cake at my grandmother’s kitchen in Barcelona. It was a revelation – that perfect balance between caramelized sweetness and bright apple flavor, with just a whisper of cinnamon. What struck me was how this humble cake, created from pantry staples, could transform an ordinary afternoon into something memorable. Years later, after refining this classic in professional kitchens across Europe, I’ve discovered that its magic lies in the technique, not elaborate ingredients. The secret? How you treat the brown sugar creates the remarkable crust that elevates this from homestyle dessert to something truly special.
The Story
Apple cake exists in countless variations across cultures, but this particular version has roots in post-war European baking, when resourceful home cooks created remarkable desserts despite limited ingredients. The brilliance of this recipe is how it uses brown sugar not just for sweetness but as a transformative ingredient that creates multiple textures within a single cake. This isn’t just dessert – it’s an elegant finale that can elevate even the most casual dinner into something memorable.
Ingredients Spotlight
The soul of this cake lies in its brown sugar – 1¾ cups (350g) in the batter plus ¼ cup (50g) for the apple mixture. I recommend using dark muscovado for its molasses-rich complexity, though light brown sugar works beautifully too. Select 4-6 medium apples (about 2 pounds/900g) with a balance of sweetness and acidity – Honeycrisp, Braeburn, or Pink Lady are my go-to choices. Their natural pectin creates a wonderful textural contrast between the tender cake and pockets of apple.
The remaining ingredients are pantry staples: 2½ cups (310g) all-purpose flour, 1 teaspoon baking powder, ½ teaspoon salt, 4 large eggs at room temperature, ½ cup (120ml) neutral vegetable oil, 2 tablespoons (30ml) orange juice (the acidity brightens the entire cake), and 1 teaspoon vanilla extract with 1½ teaspoons ground cinnamon.
Step-by-Step Guide
1. Position your oven rack in the middle and preheat to 350°F (175°C). Line a 9-inch (23cm) springform pan with parchment paper and lightly grease the sides.
2. Whisk the flour, baking powder, and salt together for a full 60 seconds – this aerates the mixture without relying solely on chemical leaveners for lift.
3. In a separate bowl, vigorously beat the eggs and brown sugar for 3-4 minutes until the mixture lightens in color and nearly doubles in volume. This creates the cake’s remarkably tender crumb.
4. Slowly stream in the oil while whisking, then add the orange juice and vanilla until fully incorporated.
5. Fold the flour mixture into the wet ingredients using a silicone spatula, stopping the moment you no longer see dry flour. Overmixing here is the enemy of tenderness.
6. Peel, core, and chop the apples into ½-inch (1.25cm) pieces, then toss with the remaining brown sugar and cinnamon until every piece is coated.
7. Pour half the batter into your prepared pan, arrange half the apples on top, then repeat with remaining batter and apples.
8. Bake for 45-50 minutes until a tester inserted in the center comes out with just a few moist crumbs. The exact timing depends on the moisture content of your apples.
Chef’s Note: The magic happens in the final 15 minutes of baking when the brown sugar on the apples caramelizes, creating a natural, crackly crust. If you notice this happening too quickly, loosely tent with foil to prevent burning while allowing the center to finish cooking.
Expert Techniques
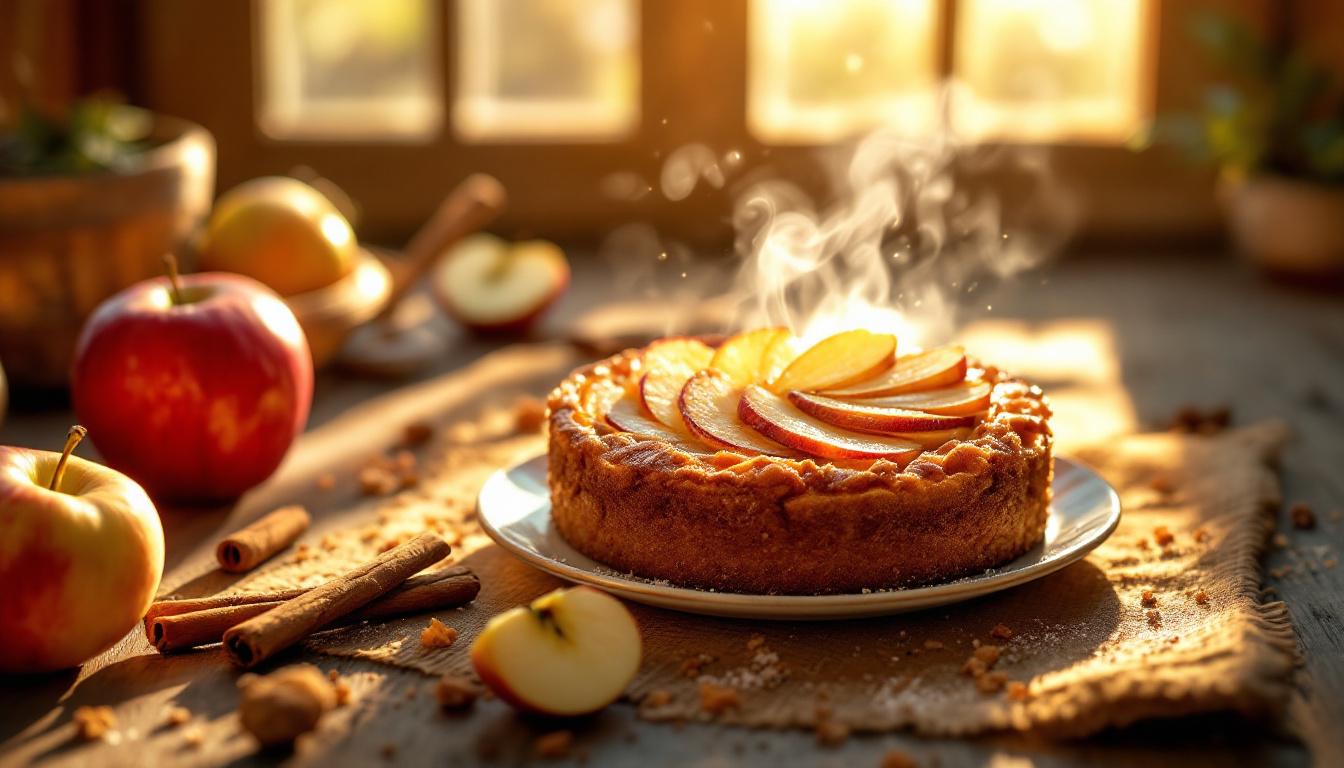
Professional kitchens rely on contrast to elevate simple desserts. Try layering the apples in three distinct ways: finely diced at the bottom for a near-invisible apple foundation, medium chunks in the middle for juicy pockets, and elegant slices fanned across the top for visual impact. This creates an experience where each bite offers something slightly different.
When mixing the batter, maintain a warm room temperature (around 70°F/21°C) – this allows the brown sugar crystals to properly dissolve, preventing that grainy texture that plagues many home bakers. If your kitchen is cold, warm your mixing bowl slightly before beginning.
Presentation & Pairing Ideas
For an elevated serving, warm individual slices for 15 seconds and place alongside a scoop of vanilla custard or crème fraîche. The temperature contrast between warm cake and cool cream creates a sensory experience far greater than the sum of its parts.
Consider this cake the perfect partner to a glass of Riesling or as a sophisticated conclusion to a heartier meal like beef bourguignon. For breakfast service, try toasting a slice and spreading with cultured butter – the slight tanginess cuts through the sweetness beautifully.
For seasonal variations, substitute pears in autumn or add cranberries during winter. For dietary adjustments, you can create a dairy-free version using coconut oil and serve with coconut yogurt.
Remember, recipes are road maps, not contracts. Once you understand how the brown sugar interacts with the fruit to create those caramelized pockets, you’ll find yourself improvising with confidence, creating your own signature version of this timeless classic. That’s when cooking becomes truly transformative – when you make it uniquely yours. 🍎✨