The first time I made an authentic New York cheesecake, I was convinced it would end in disaster. Five blocks of cream cheese sitting on my counter, a springform pan I’d never used, and instructions insisting on a mysterious “water bath” technique. Fast forward three hours: I was slicing into the most sublime, velvety cheesecake I’d ever tasted—the perfect balance of sweetness and tanginess with that signature dense-yet-creamy texture that defines a true New York classic. What shocked me most? The simplicity beneath the intimidation. This grandmother-style recipe strips away complications while preserving the techniques that make this dessert legendary.
The Story Behind the Slice 📖
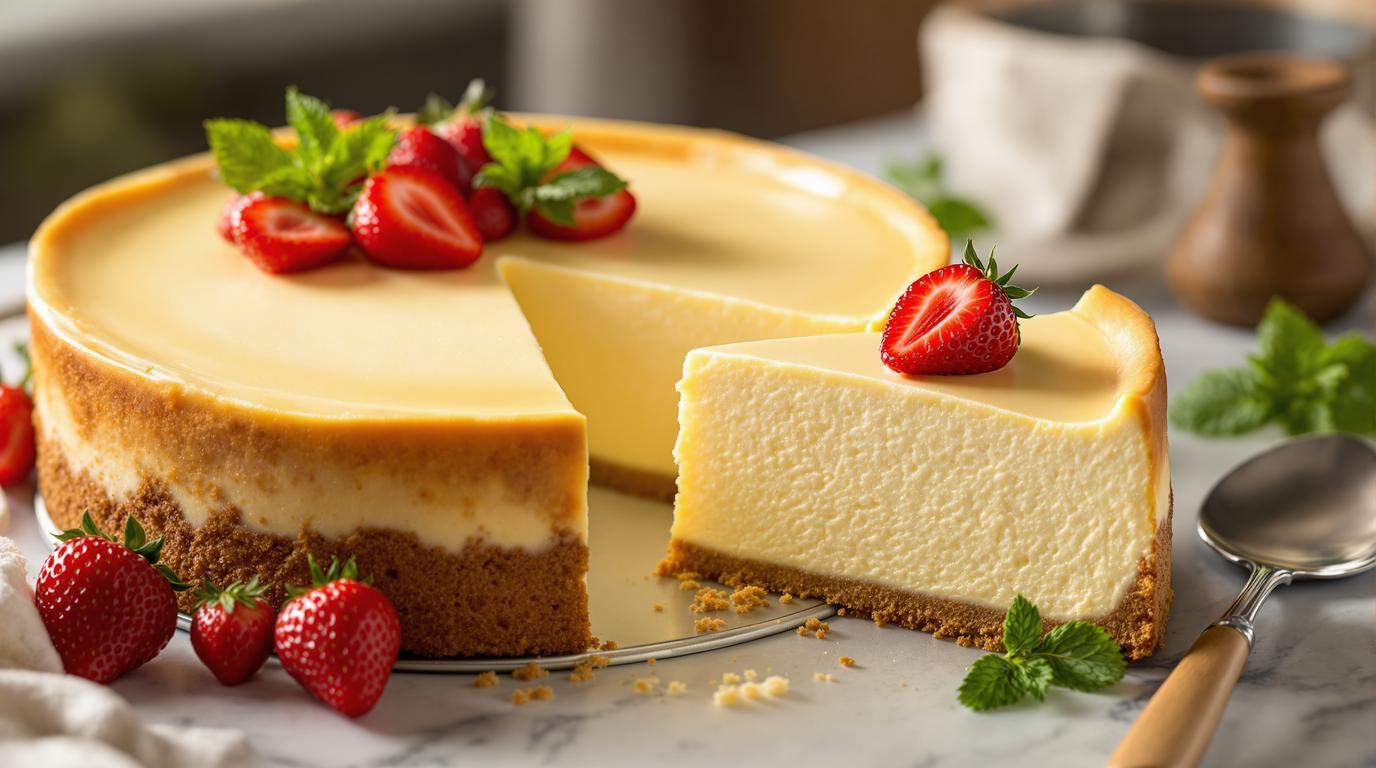
New York-style cheesecake emerged from Jewish delis in the mid-20th century, becoming iconic in establishments like Junior’s and Lindy’s. Unlike its fluffier European cousins, the New York version proudly embraces richness and density. What makes it special isn’t elaborate flavors but rather its pure, unadulterated celebration of cream cheese, enhanced only by vanilla and a whisper of lemon. The true art lies in achieving that perfect crack-free surface and silky texture—something I’ve spent years perfecting in professional kitchens and now bring to your home.
Ingredients Spotlight 🧪
The beauty of this classic lies in quality ingredients working harmoniously:
- Cream cheese (32 oz/900g): Full-fat, room temperature—the cornerstone of authentic texture
- Sour cream (1 cup/250g): Provides tanginess and silky mouthfeel
- Graham cracker crumbs (2 cups/280g): The traditional foundation
- Eggs (4 large + 1 yolk): Structure and richness without becoming eggy
- Cornstarch (3 Tbsp): The secret weapon against cracks
- Sugar (1½ cups/300g for filling, ⅓ cup/70g for crust): Balanced sweetness
- Butter (½ cup/115g): Binds the crust with rich flavor
- Vanilla extract (2 tsp) and lemon juice (2 tsp): Subtle flavor enhancers
Step-by-Step Guide 📝
- Prepare the foundation: Mix graham crumbs, sugar, and melted butter. Press firmly into a 9-inch springform pan and bake at 350°F (175°C) for exactly 10 minutes.
- Create the filling: Beat cream cheese until completely smooth (no shortcuts here!). Add sugar gradually, then cornstarch. Incorporate eggs one at a time on low speed—this prevents incorporating excess air, which causes cracks.
- Add dimension: Gently fold in room-temperature sour cream, vanilla, and lemon juice until just combined. The batter should be silky smooth but not over-mixed.
- Prepare the water bath: Wrap the springform pan in multiple layers of foil. Place in a larger roasting pan and pour boiling water halfway up the sides after the pan is in the oven.
- Bake with patience: 325°F (165°C) for 55-60 minutes until edges are set but center still has a slight wobble—it will continue firming during cooling.
- Cool strategically: Turn off the oven, crack the door open, and let the cheesecake cool gradually for 2 hours. This prevents temperature shock and cracking.
- Chill thoroughly: Refrigerate at least 4 hours, preferably overnight, for the ultimate texture development.
Expert Techniques 🛠️
The difference between good and transcendent cheesecake comes down to technique. Room temperature ingredients aren’t just a suggestion—they’re essential for preventing lumps. When mixing, scrape down the bowl frequently with a silicone spatula, especially after adding each egg. The water bath isn’t fussy; it’s insurance, creating a gentle, humid environment that bakes the cheesecake evenly.
Chef’s Note: The slight jiggle in the center when you finish baking isn’t a mistake—it’s intentional. The residual heat continues cooking the cheesecake during cooling. Pull it too late, and you’ll lose that signature creaminess; too early, and you’ll have cheesecake soup. Look for a 2-3 inch wobbly center with set edges.
Presentation & Pairing Ideas 🍽️
While purists enjoy this cheesecake unadorned, it’s the perfect canvas for seasonal creativity. In summer, I love serving it with fresh berries or a simple compote. For autumn, a drizzle of salted caramel and toasted pecans creates harmony. When entertaining, I often pair slices with Moscato d’Asti or a late-harvest Riesling, whose sweetness beautifully complements the tanginess. For something truly special, try serving alongside my Matcha Mille Crepe Cake for an impressive dessert spread.
For the cleanest slices, dip your knife in hot water and wipe it dry between cuts. Allow the cheesecake to sit at room temperature for 10-15 minutes before serving to maximize flavor and achieve that melt-in-your-mouth quality that makes New York cheesecake legendary.
Remember, a great cheesecake isn’t rushed. The time investment—particularly in proper cooling—yields immeasurable returns in texture. Master this classic, and you’ll have a foundation to explore endless variations, from my raspberry-infused creations to more adventurous flavor profiles. The technique remains your north star, guiding you to cheesecake perfection every time.